These are the steps to connect to your work or research computer from a remote location using SSH port forwarding with the application PuTTY for Windows.
Open PuTTY. If you do not have PuTTY installed you can download it from our software page, here.
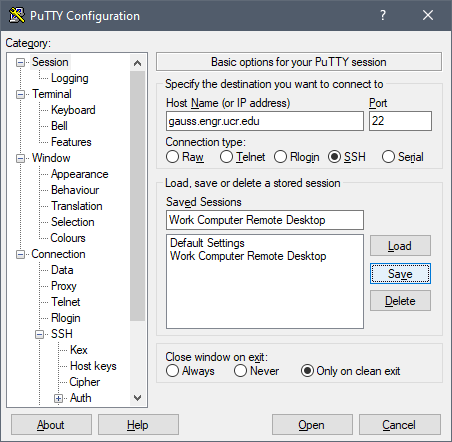
- Enter the following information.

- Host Name (or IP address)
- gauss.engr.ucr.edu
- Saved Sessions
- Enter a description, in this example we chose "Work Computer Remote Desktop" but you can pick whatever makes sense to you. This will be the saved name of the connection.
- Once you have entered the server and session name, click the "Save" button on the right side of the PuTTY window. This will save your session for future use.
- Host Name (or IP address)
- Locate the "Category:" section on the left side of the window.
- Scroll down to the "Connection" category and expand it by clicking the "+" to the left.
- Expand the "SSH" section in the Connection category.
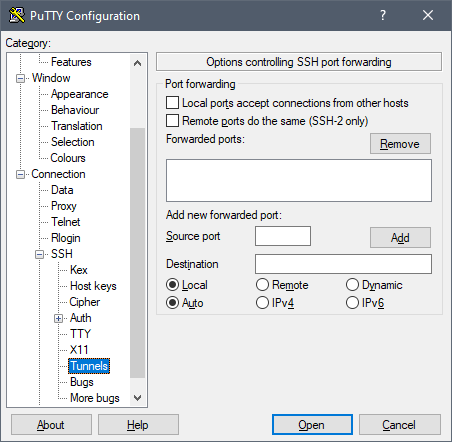
- Select the "Tunnels" section of the SSH category.
- Enter the following information.
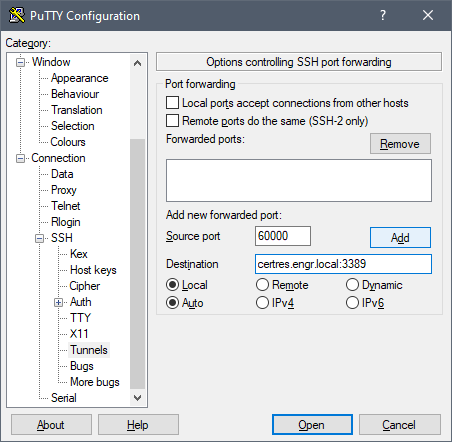
- Source port
- 60000
- Destination
- NAME.engr.local:3389
- Replace "NAME.engr.local" with the name or IP of your computer.
- Source port
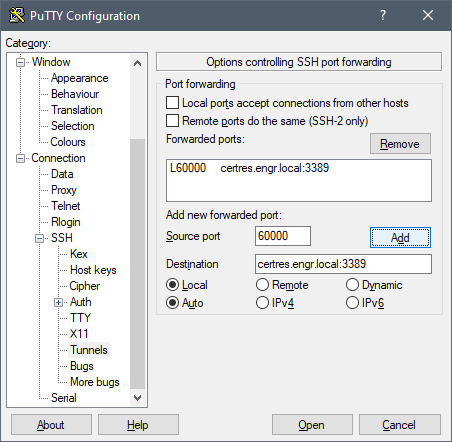
- After you have entered the "Source port" and the "Destination" information, click the "Add" button located on the right side of the window. You should see the information you entered appear in the larger text box above.
- Scroll to the top of the "Category:" section and select the "Session" category. Click the "Save" button again, this will save information that you entered in Step 4.
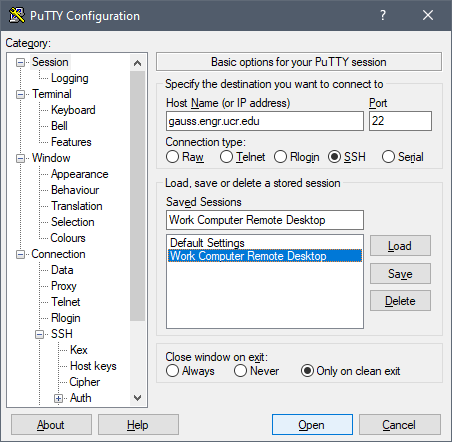
- Select "Work Computer Remote Desktop" from the list of "Saved Sessions" and then click the "Open" button.
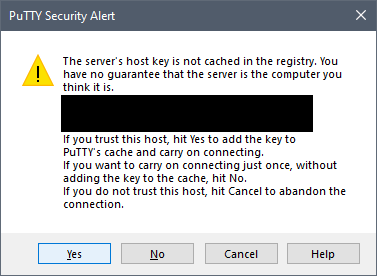
- Click the "Yes" button.
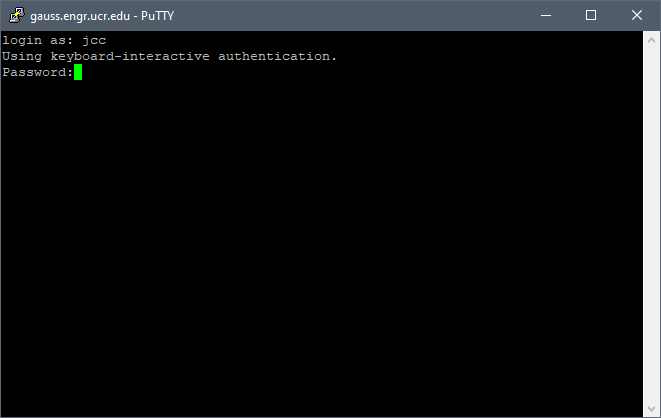
- This is a login prompt. Type your valid ENGR username and then press enter.
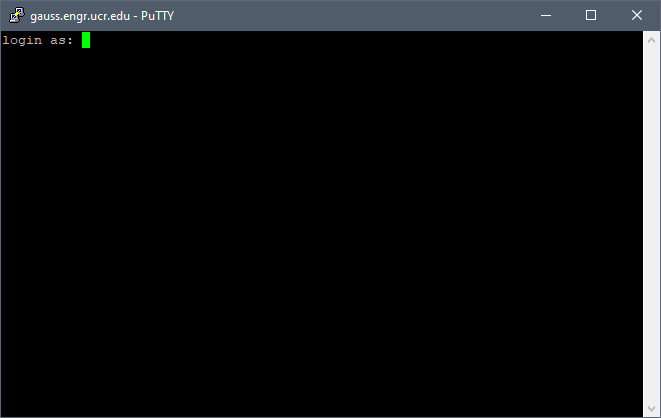
- Type your password, the characters will NOT show on the screen as you type.
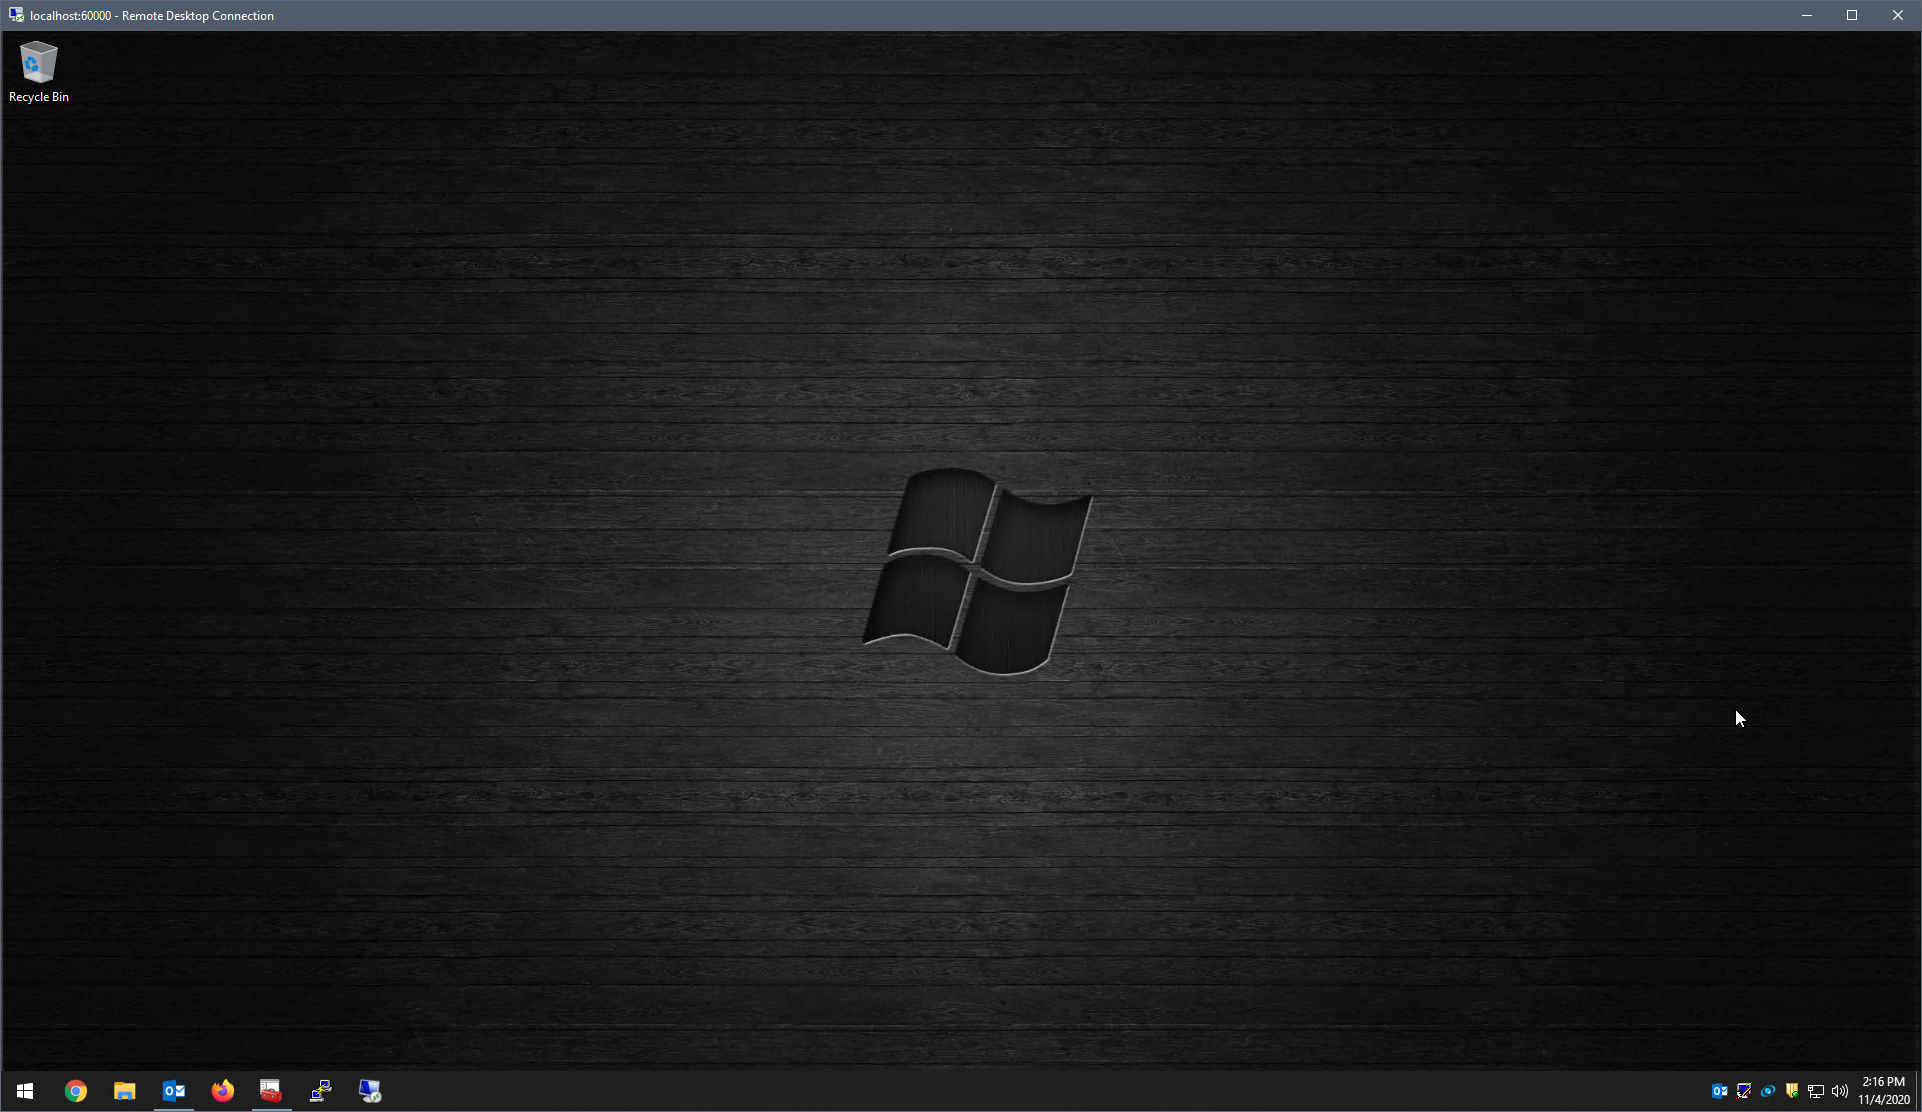
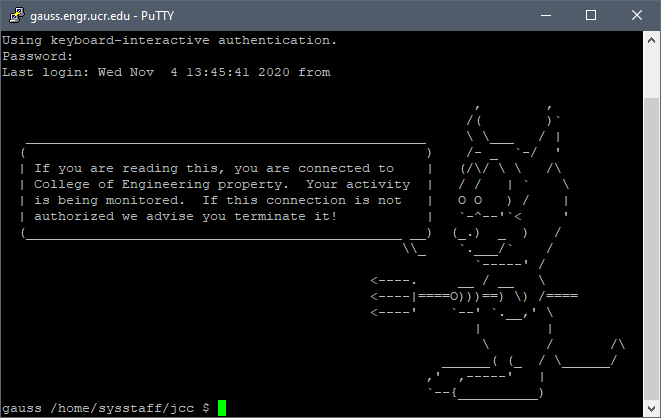
- After successfully entering your ENGR username and password you should have a window that looks like this. Keep this window open while you use your computer.
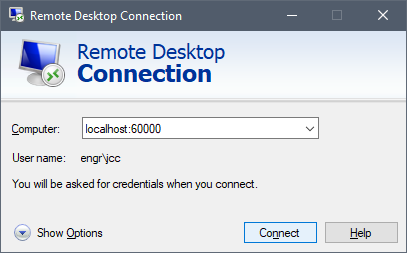
- In the search box on the taskbar, type "Remote Desktop Connection", and then select Remote Desktop Connection. When you open the application you will be greeted by a window that looks like this one.
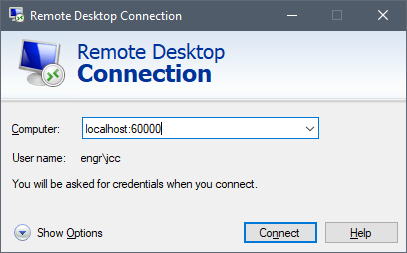
- Type "localhost:60000" in the "Computer:" text box and then click the "Show Options" button located in the bottom left corner of the window.
- Type your ENGR username preceded by "engr\" in the case of someone with username "jcc" you would want to type "engr\jcc". Click the "Hide Options" button when you are done entering this information.
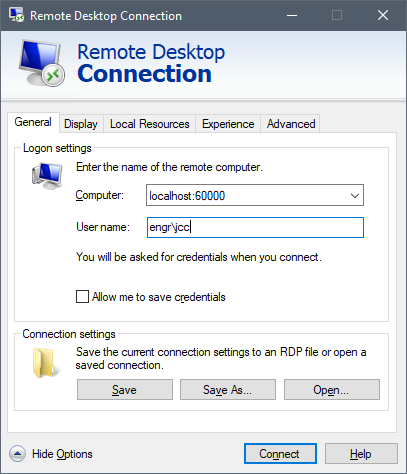
- Click the "Connect" button in the bottom right corner of the window.
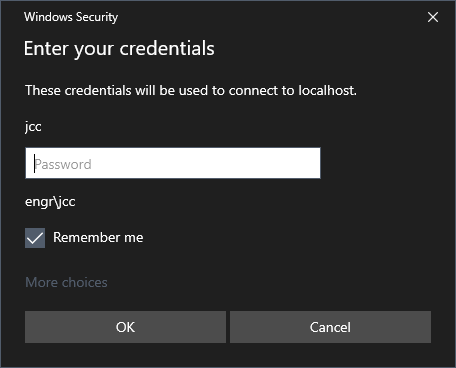
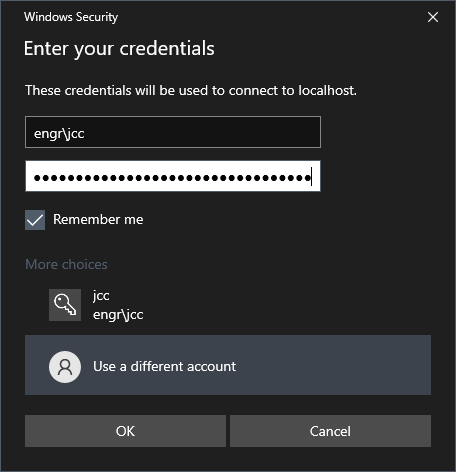
- Click the "More choices" option, it is in the bottom left corner above the "OK" button. Do not click the OK button.
- Select the "Use a different account" option.
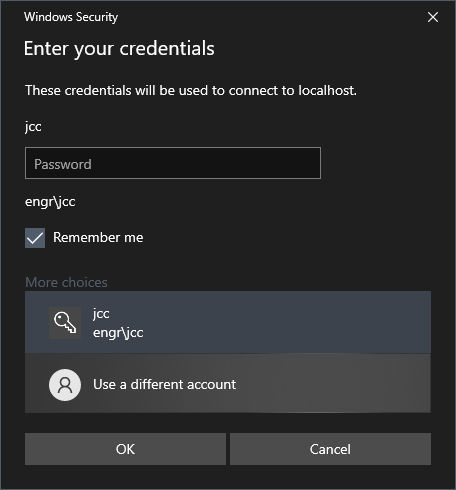
- In the first text box, type your ENGR username preceded by "engr\" in the case of someone with username "jcc" you would want to type "engr\jcc". Type your ENGR account password in the second text box. Click the "OK" button after you have entered your information.
- If you want your computer to remember this information, make sure to check the "Remember me" checkbox.
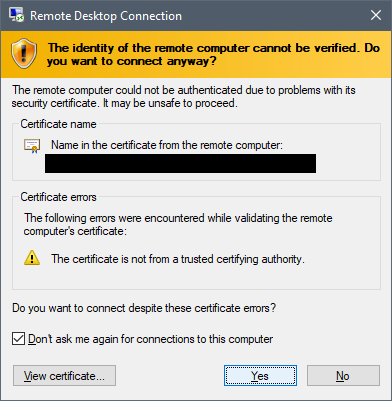
- Check the "Don't ask me again for connections to this computer" checkbox if you do not want to see this window anymore.

- Click the "Yes" button located in the bottom right corner of the window.
- You should see your work desktop now. If you have any comments or concerns about this guide, email them to systems@engr.ucr.edu